
In today’s blog post, we’d like to help our readers with registering and setting up ClickUp for the first time. In this article you’ll find:
- a step-by-step guide to the registration process,
- how to open a free ClickUp account,
- basic tips on setting up this increasingly popular project and task management tool.
Below is a step-by-step beginner guide with all the necessary actions to register account and get started with ClickUp. This article has been updated to reflect changes as of April 2025.
Registration
- Go to www.ClickUp.com and click the “Sign Up” button in the top right corner. If you’re planning to use ClickUp for your company, we recommend using your main business email address. If you just want to run some initial tests, it’s better to use an email that won’t be used later for ClickUp.
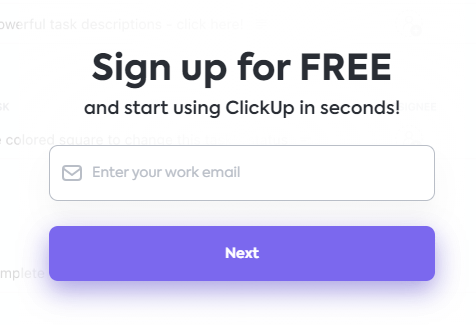
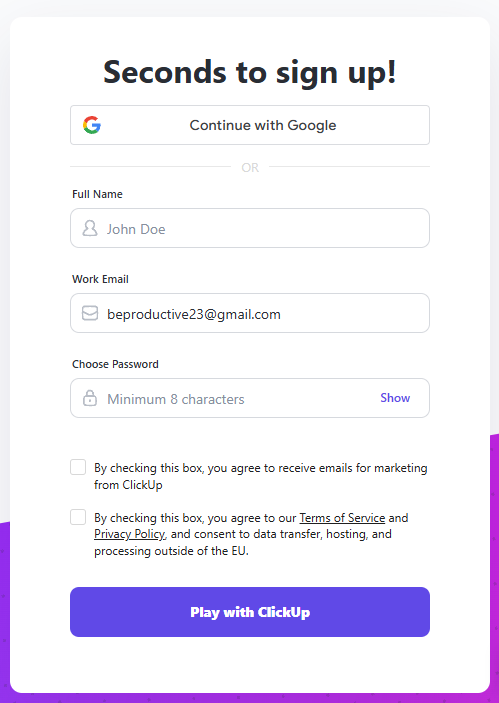
Then, fill out the next fields:
- After completing the above steps, check your email inbox and retrieve the verification code. Copy and paste it into the ClickUp website to confirm your account.

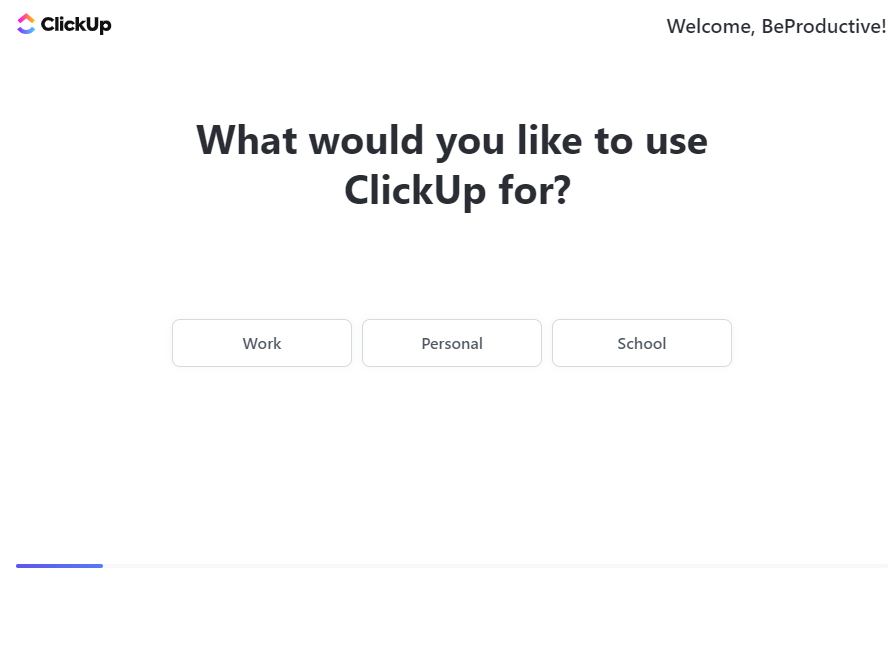
- Welcome Screen – You’ll need to choose whether you’ll use ClickUp for work, personal, or educational purposes. Choose from: Work, Personal, or School.
- What will you use ClickUp for?

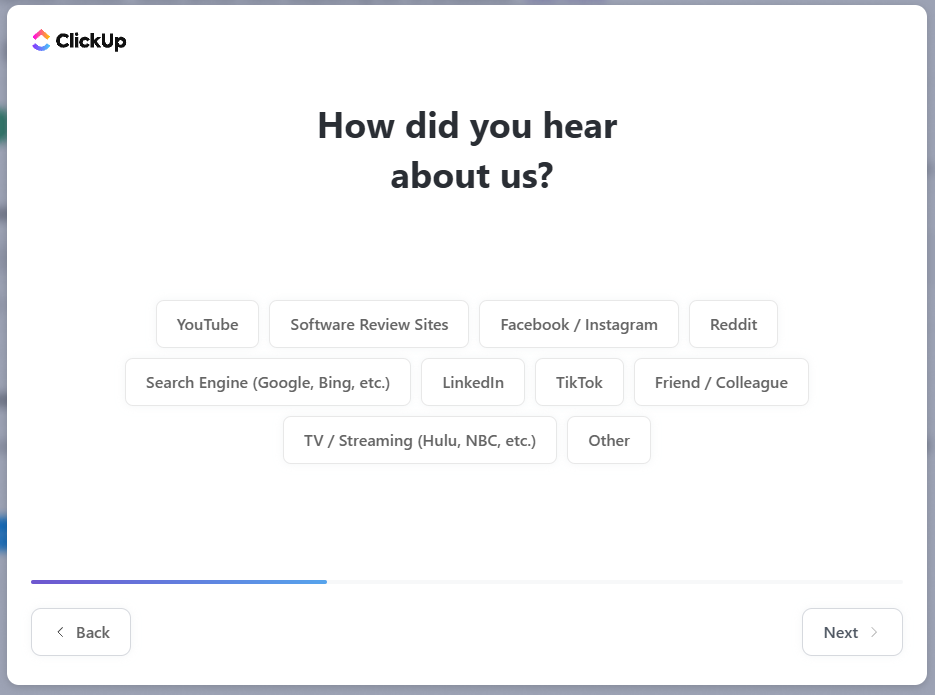
- How did you hear about ClickUp?
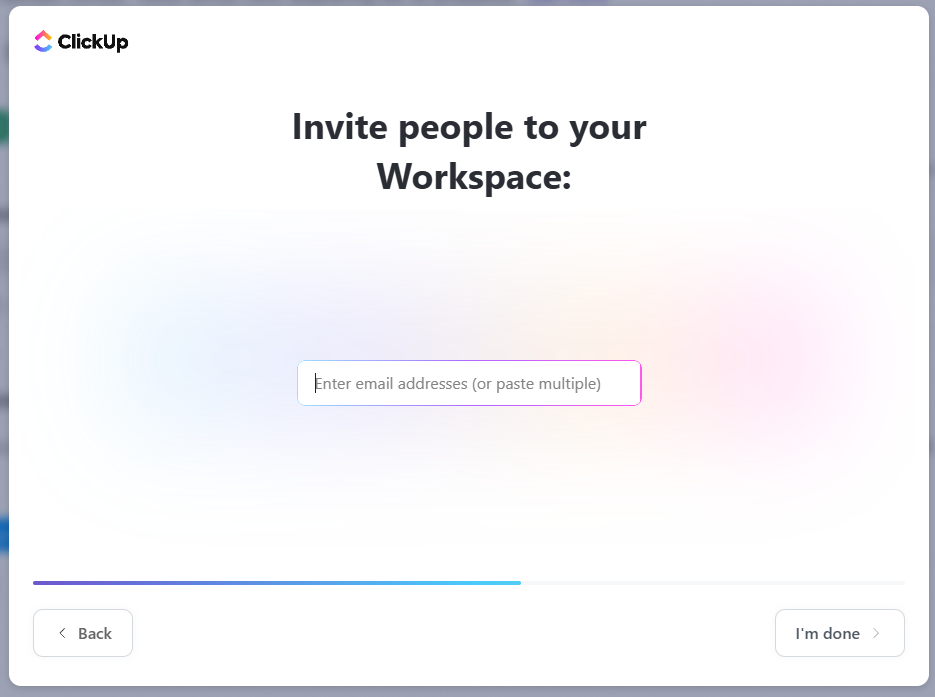
- Invite others to your Workspace. You can also skip this step for now.
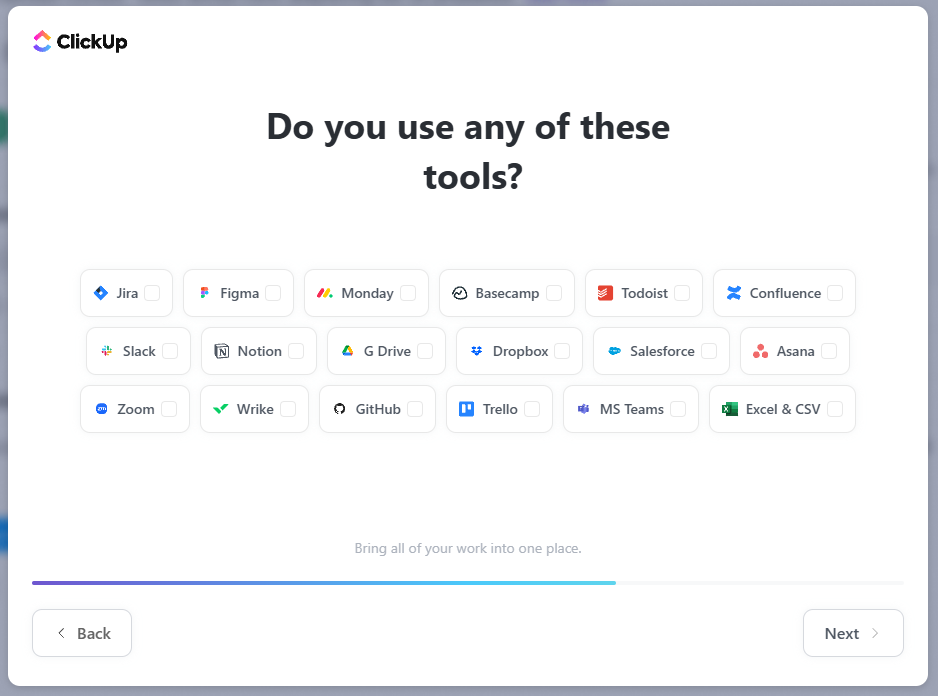
- Which tools have you already used? Most of these can be integrated with ClickUp.
- What features are you interested in? These are all features available in ClickUp.

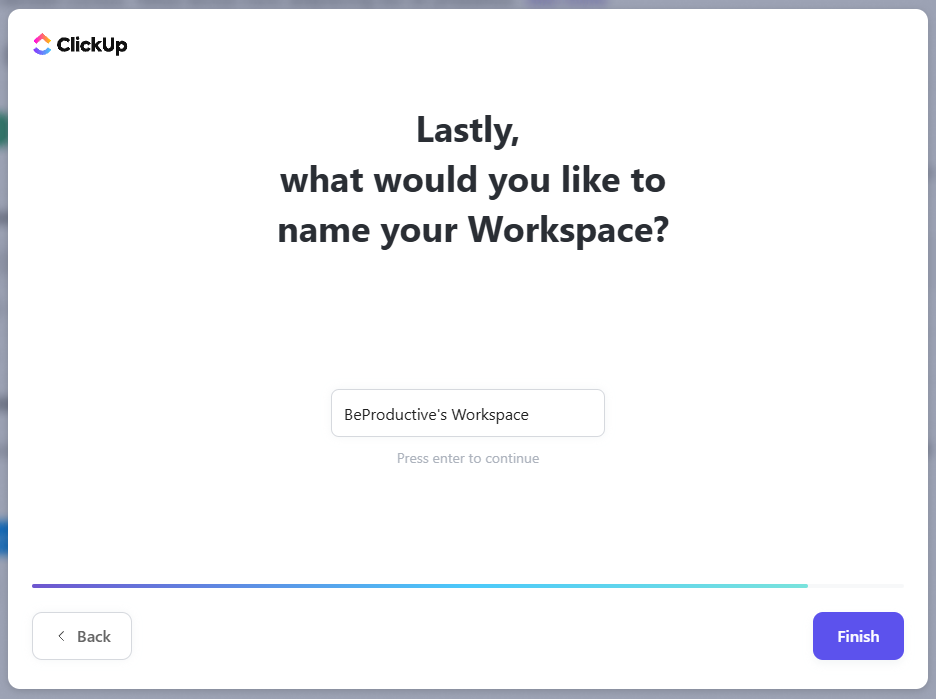
- Finally, what would you like to name your Workspace? You can change this later.
Working with the Default ClickUp View
After completing the initial setup, you’ll see ClickUp’s welcome guide (in English), then you’ll be redirected to the default view, which includes your first Workspace (shown in the left menu). In the bottom left corner, you’ll find a window with a rocket icon. This is a live guide to help you take your first steps in ClickUp.
 ClickUp’s structure is based on several key components:
- Workspace – The name of your ClickUp environment, representing your organization.
- Space – The main areas within a Workspace. You can have multiple Spaces, each for grouping related projects and tasks.
- Folder – Used to group areas or activities within your Workspace. For example, folders like “Marketing”, “Sales”, or “Support” help keep things organized.
- List – A deeper level of task grouping within folders. You can create multiple Lists to categorize your work further.
- Tasks – The core elements for managing work in ClickUp.
- Subtasks – Help structure larger tasks. For instance, a task like “Create Product X” could include subtasks like “Design”, “Prototype”, and “Final Production”.
Key Settings After Signing Up
- Below is a screenshot of the date and time settings – which day starts the week – in our example, we’ve set Monday.
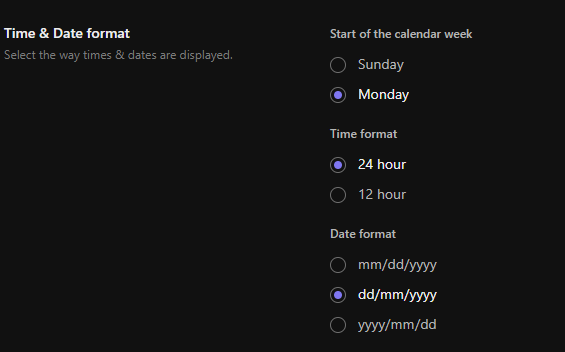
– For the “Time Format”, you can select your preferred style. We recommend the 24-hour format. If left unchanged, time will be shown in AM/PM format.
– For the “Date Format”, we recommend changing to Day/Month/Year, which is the standard in Europe. - You can also enable the option to add comments using “Enter”. This way, pressing “CTRL + ENTER” or clicking “Comment” will be required to send a comment — useful to avoid accidental submissions when adding new lines or bullet points.

- Dark Mode – a well-known feature nowadays. You can enable it in two ways. First, through your profile menu under Themes:

Or in the settings, under the “My Settings” tab: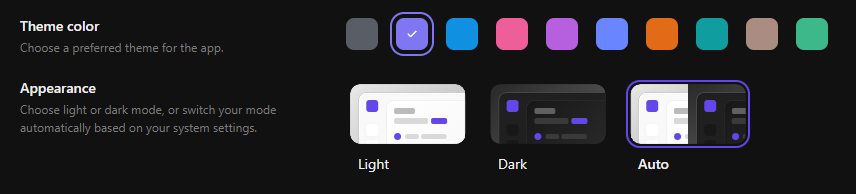
- ClickApps Chat – One more useful feature worth testing is the latest version of ClickUp Chat. It’s similar to Slack but built directly into ClickUp.
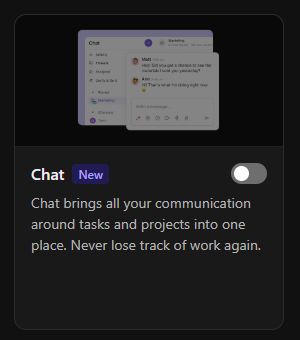
This will create new areas like channels and posts: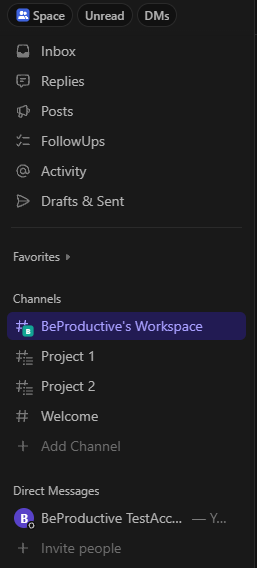
This guide walks you through the registration and initial setup process of ClickUp. It shows you how to get started with this task and project management platform. But remember, ClickUp is more than just a tool. It’s a flexible system that can be tailored to fit your company’s unique needs. You can find more info in our ClickUp FAQ.
BeProductive is here to support you throughout this process. We not only help digitalize your business but also offer full implementation support, including professional training. We’re ready to share our knowledge and experience so you can get the most out of ClickUp and achieve greater efficiency in project and task management.
ClickUp – the system to manage any business!
Use ClickUp to manage your company more effectively.
Click below to learn more!

How do marketing teams use ClickUp?
In marketing, teams are constantly looking for tools that help them efficiently manage marketing activities. ClickUp is a versatile solution that influences the way we plan, execute, and analyze our...

ADHD and Work – How to Build Effectiveness, Organization, and Professional Fulfillment (and How ClickUp Can Help)
Introduction ADHD (Attention Deficit Hyperactivity Disorder) is not just a childhood condition. It accompanies many people throughout their lives, including adulthood, in professional work and daily...

ClickUp Support – When to Ask for Help and What Working with Experts Looks Like
You've come to the right place – professional ClickUp support from BeProductive If you're looking for ClickUp support – whether you're just starting out or already using the platform and need help...