🔔 Note:
The ClickUp for Outlook add-in only works with @outlook.com email accounts or business Microsoft accounts. It will not work if you use, for example, a Gmail account connected to the Outlook app.
Installing ClickUp for Outlook
1. Log in to the Outlook app The first step is to launch the Outlook app (desktop or browser version) and sign in to your Outlook account.
2. Open any email
It doesn’t have to be a specific message — the point is just to activate the add-ins panel.
3. Click the add-ins icon
In the upper-right corner (within the message interface), you’ll find a blue square icon with four circles.

* Make sure you’re using an Outlook account, not an external one (e.g., Gmail).
* Check if you’re not in reply mode. If you are, click “Discard” to return to normal email view.
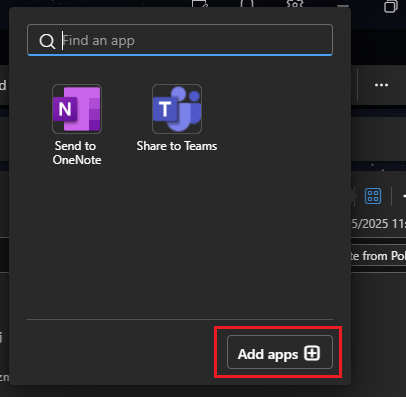
4. Click “Add apps”
You will now see a window that gives you access to the Outlook add-ins store.
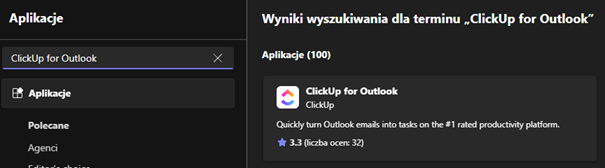
5. Search for “ClickUp for Outlook”
Type the name into the search bar and select the appropriate application.
Connecting Outlook with ClickUp
6. Click “Add” The add-in will be automatically added to your Outlook. 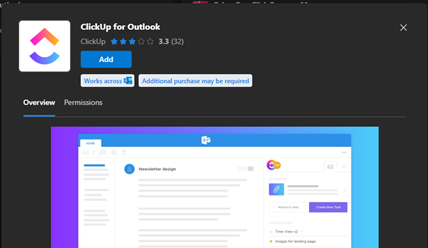
7. Open an email and select the ClickUp icon
After installation, open any email again and click the add-ins icon. Select ClickUp from the list.

8. Sign in to your ClickUp account
A login panel will appear on the right side of the screen. Click Login and sign in to your ClickUp account.
If you have more than one workspace (e.g., personal and business), the app will ask which one you want to integrate with Outlook.
You’ll see a screen like this after logging in:
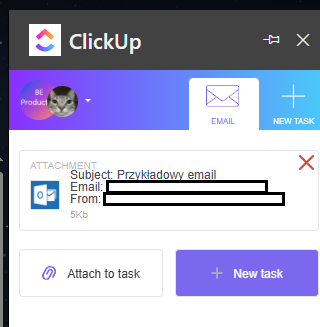
What can you do with an email after integration?
Once your accounts are connected, the ClickUp for Outlook app offers two main features:
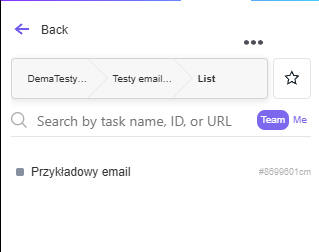
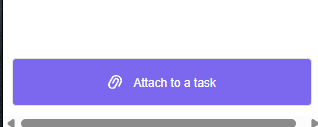
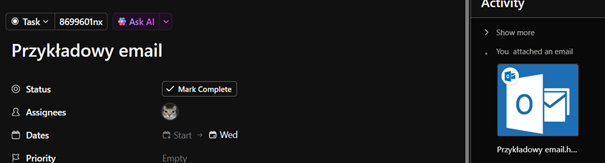
9. Attach to task
- Select the space, folder, and list.
- Then choose the specific task you want to attach the email to.
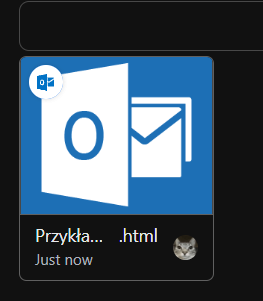
- After confirmation, an HTML file with the email content will appear in the task.
- You can save this path as a favorite to speed up the process in the future.
10. Create New Task
- The add-in allows you to create a brand new task from the email message.
- You can set the title, description, due date, assignees, and an HTML file with the email content will be included as an attachment.

Summary
Integration with Outlook is a great solution for anyone who wants to combine task organization in ClickUp with important information from emails. With this add-in, you can easily turn emails into tasks, organize them, and assign them to the right people — all without leaving the Outlook app.
Contact us today – We will help you implement ClickUp comprehensively!
Click below to learn more!
Schedule a free consultation
Related posts

How to use Task Tray and Favourites
ClickUp offers two ways to quickly access your most important tasks: Task Tray and Favorites. These features allow easy access to various ClickUp elements, not just tasks. In this article, we will...

Recording Screen in ClickUp – How Record Clip Works
ClickUp is a comprehensive project management tool that offers much more than just task lists and calendars. One of its interesting features, especially useful for team communication, is Record Clip...

How do marketing teams use ClickUp?
In marketing, teams are constantly looking for tools that help them efficiently manage marketing activities. ClickUp is a versatile solution that influences the way we plan, execute, and analyze our...